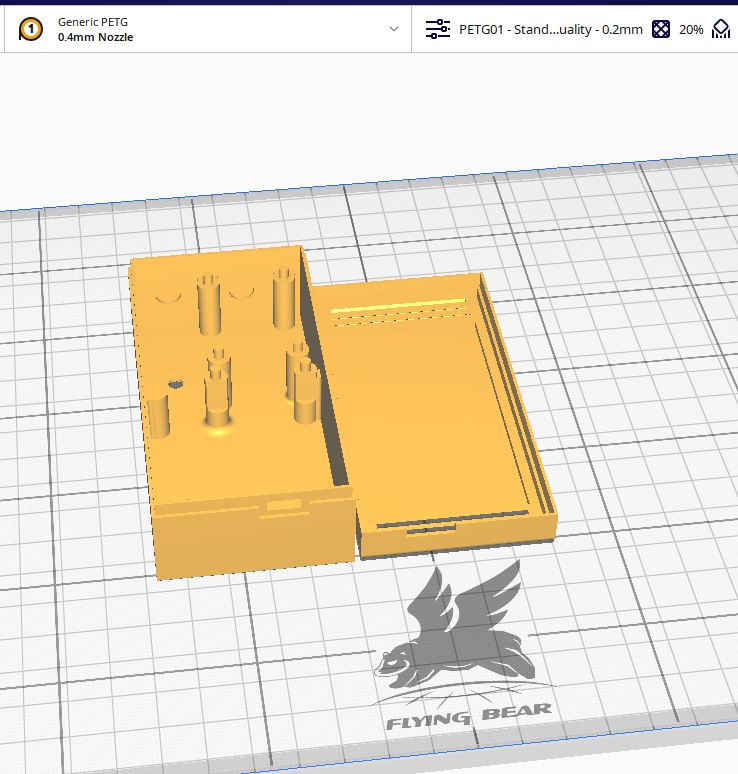
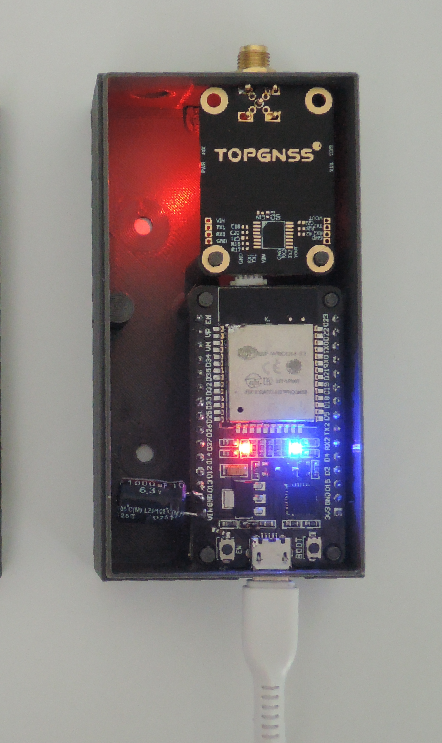
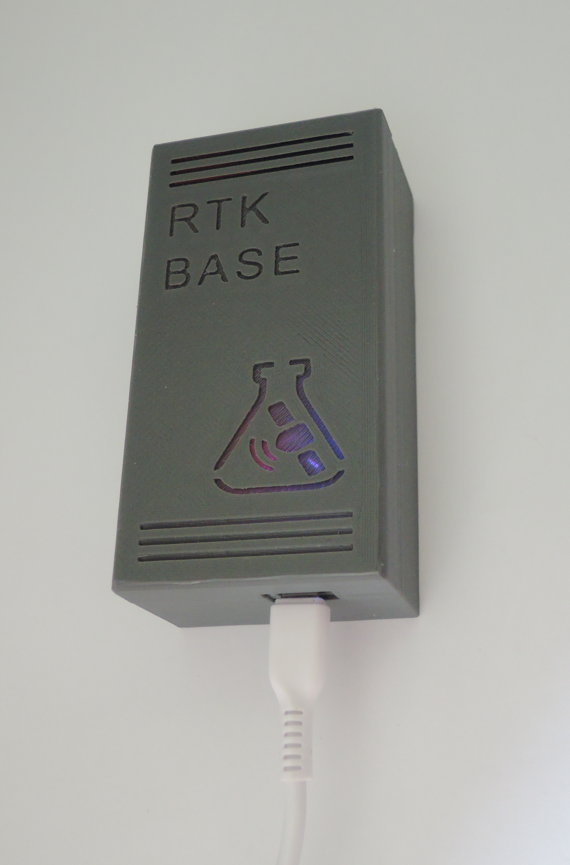
Make RTK base
<400$
RTKNAVI ESP32 Base-Rover
1.Antenna L1 L2 GPS+GLO+GAL+BeiDou 60$
2.RTK GNSS L1 L2 GPS GLONASS BEIDOU GALILEO 266$
3.Coaxial Cable RG58 SMA Male to TNC male 20m 24$
4.ESP32 (ESP-WROOM-32) 30pin 8$
6.Gnss Antenna Magnetic Base Mounting 19$
7.HUAWEI Original 5v 2a EU Charger+micro Adapter usb
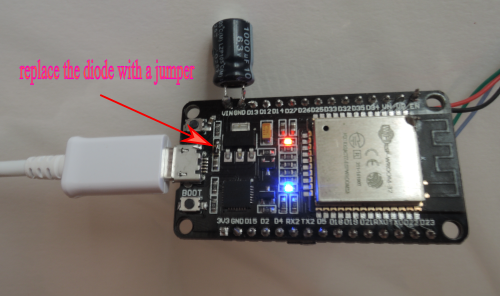
Download the firmware and unzip it.
Run the RTKNAVI ESP32 Ublox ZED-F9P Loader.exe program.
If the device is not detected, install the drivers from the folder "CP210x_Windows_Drivers".
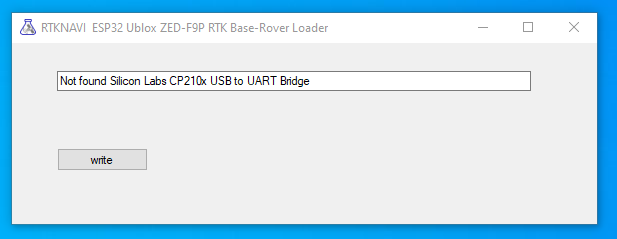
If the device is detected, select the port and press the button "write"
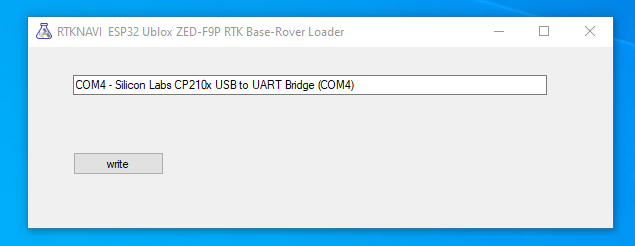
If the download process has not started by itself, press the button "BOOT" on the module.
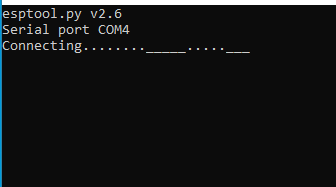
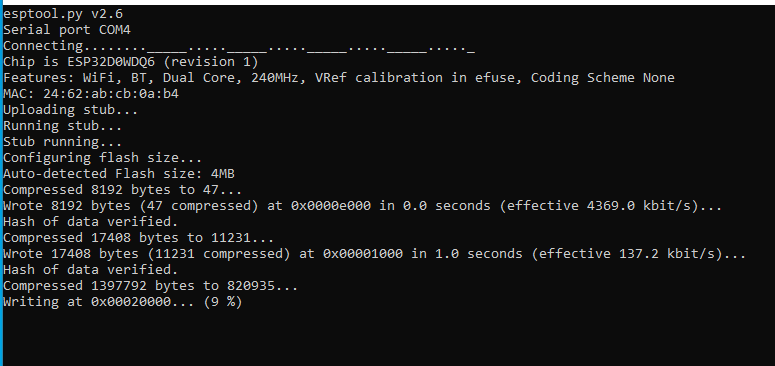
After the download is complete, the window will close.
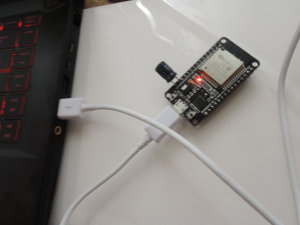
We assemble the device and turn it on.
The antenna must have a good view of the satellites.
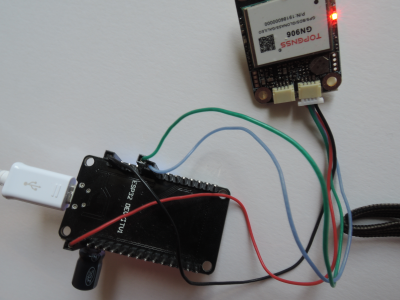
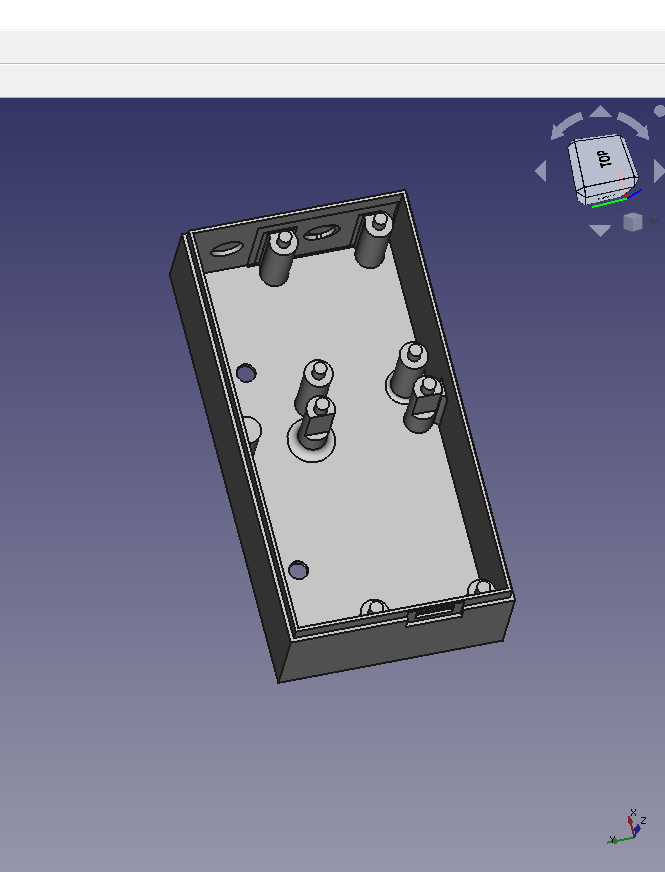
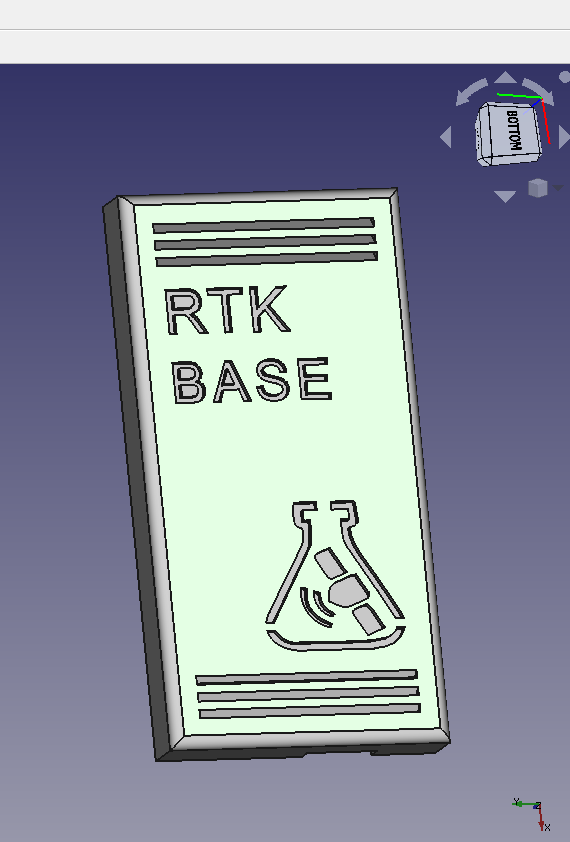
When powered on, the blue LED on the ESP32 should blink 3 times.
To set up the base, we take a phone, laptop or tablet and check the wi-fi networks.
We are looking for an unprotected network "ESP32".
We put a tick "connect automatically" and after connecting we type 192.168.4.1 in the browser.
Change the password for the AP and after filling in all the settings, reconnect with the password.
If the device is not connected to the router, it goes into access point mode with IP 192.168.4.1.
Access point password after the first acceptance of the default settings 123456789.
On the router, we are looking for the IP of the connected device.
You can create a free connection on our website.
Register, get the settings in the "freecaster" tab and save them. For example.
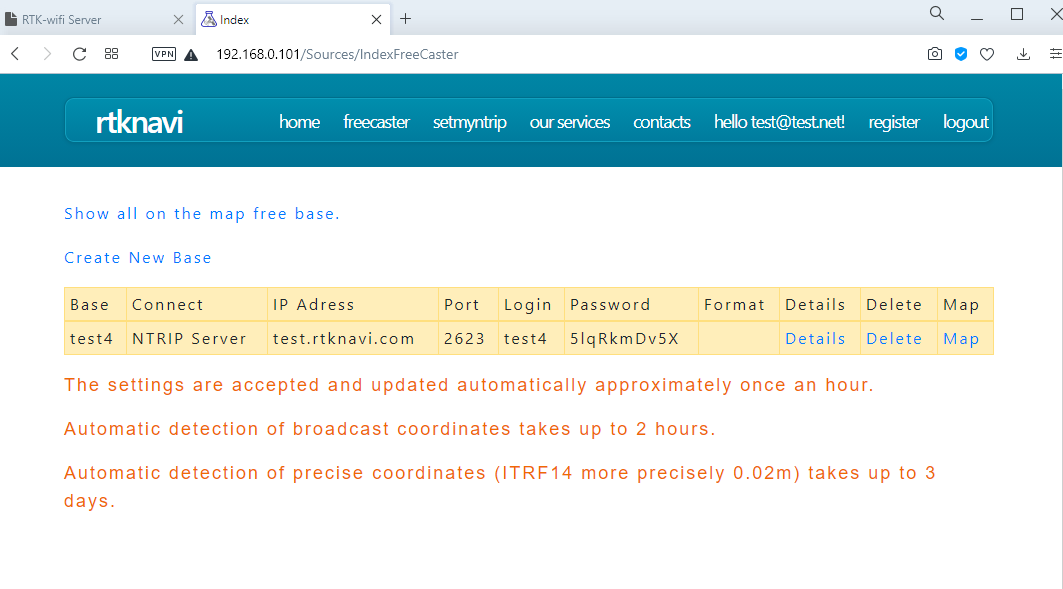
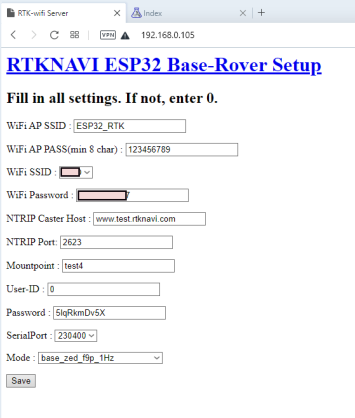
Connect to base in example: test.rtknavi.com port 2623 mountpoint test4
If all settings are correct, after connecting to the caster, the blue LED will flash once a second.
After accepting the settings and determining the position, the base will be displayed on the map.
Congratulations! You have your own inexpensive NTRIP RTK base!
We also have service packages for creating your separate NTRIP Caster with the ability to track tractors and unite bases into a network.
This allows you to cover a large area without loss of accuracy.
